Hi friends! Dani from @popfizzpaper here today sharing a fun Spiderman inspired greeting card! This handmade card is perfect for welcoming the newest members of your neighborhood. Let’s get started!
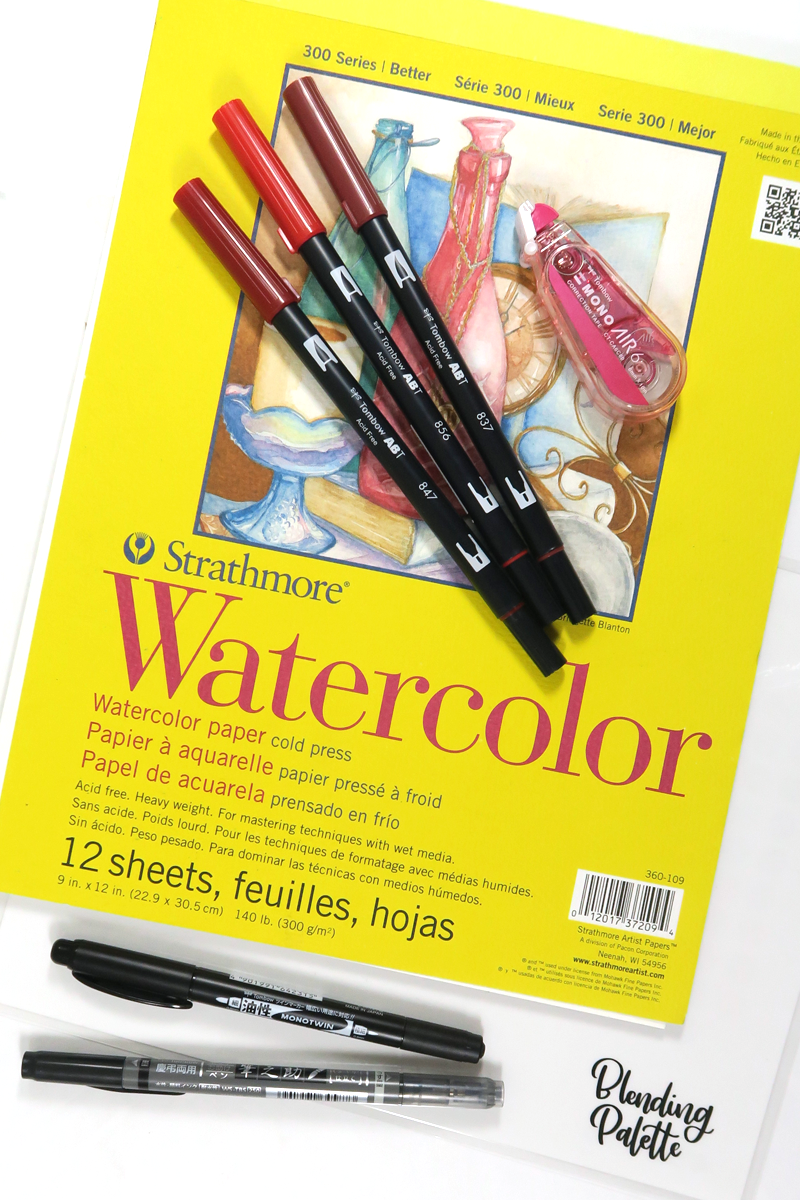
SUPPLIES:
- Tombow Dual Brush Pens in 837, 847, 856
- NEW Tombow XL Blending Palette, available in the July Tombow VIP Club box (while supplies last!)
- Watercolor paper
- Spray bottle with water
- Tombow MONO Drawing Pencil
- Tombow MONO Air Correction Tape
- A sheet of printer paper
- Scissors
- Tombow Xtreme Adhesive
- Tombow Foam Tape
- White cardstock
- Tombow Fudenosuke Brush Pen
- Tombow MONO Twin Permanent Marker
- Gem stickers
STEP ONE
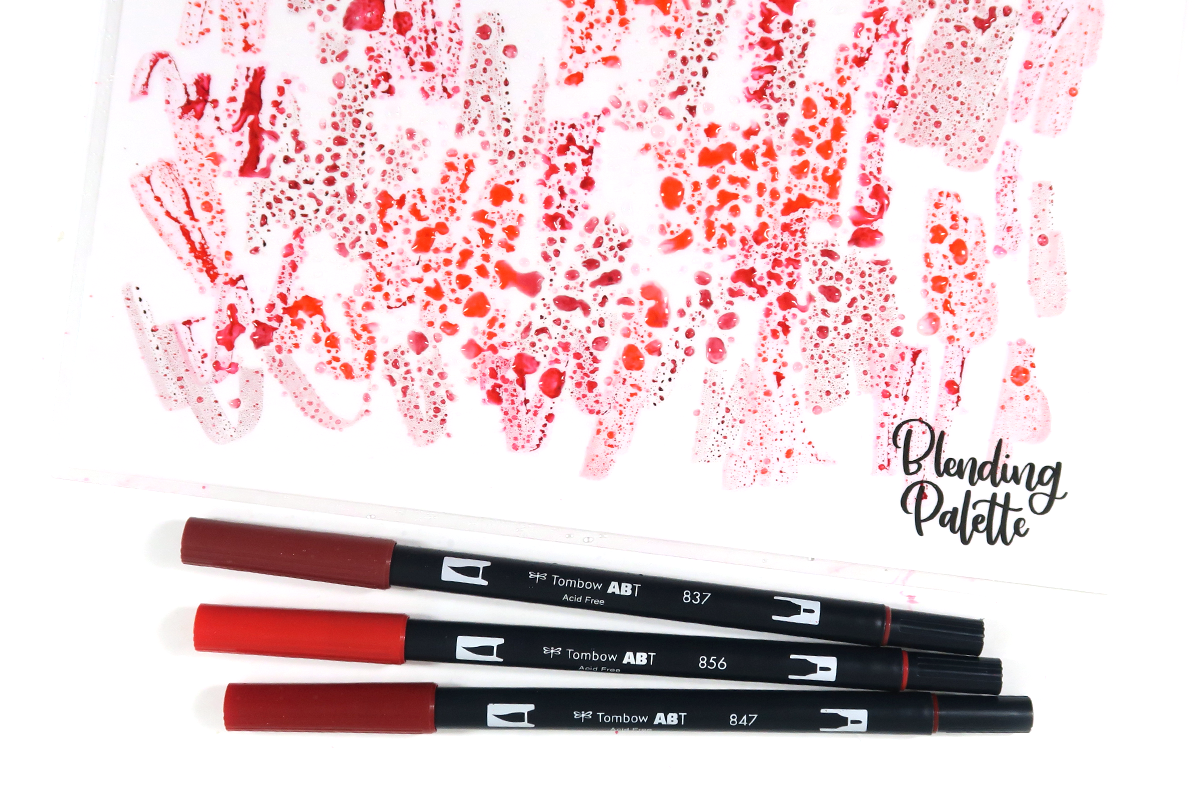
First, cut down a piece of watercolor paper to 4″x6″. This will become the front panel of your card. Next, apply splotches of Tombow Dual Brush Pen ink to the XL Blending Palette, then spritz with water. Turn the watercolor paper face down into the ink, smoosh it around a bit, then peel up and let dry face up. If you want, you can repeat this process to build up the color, but the new XL Blending Palette is perfect for this technique because you can cover the entire card with ink in one pass!
STEP TWO
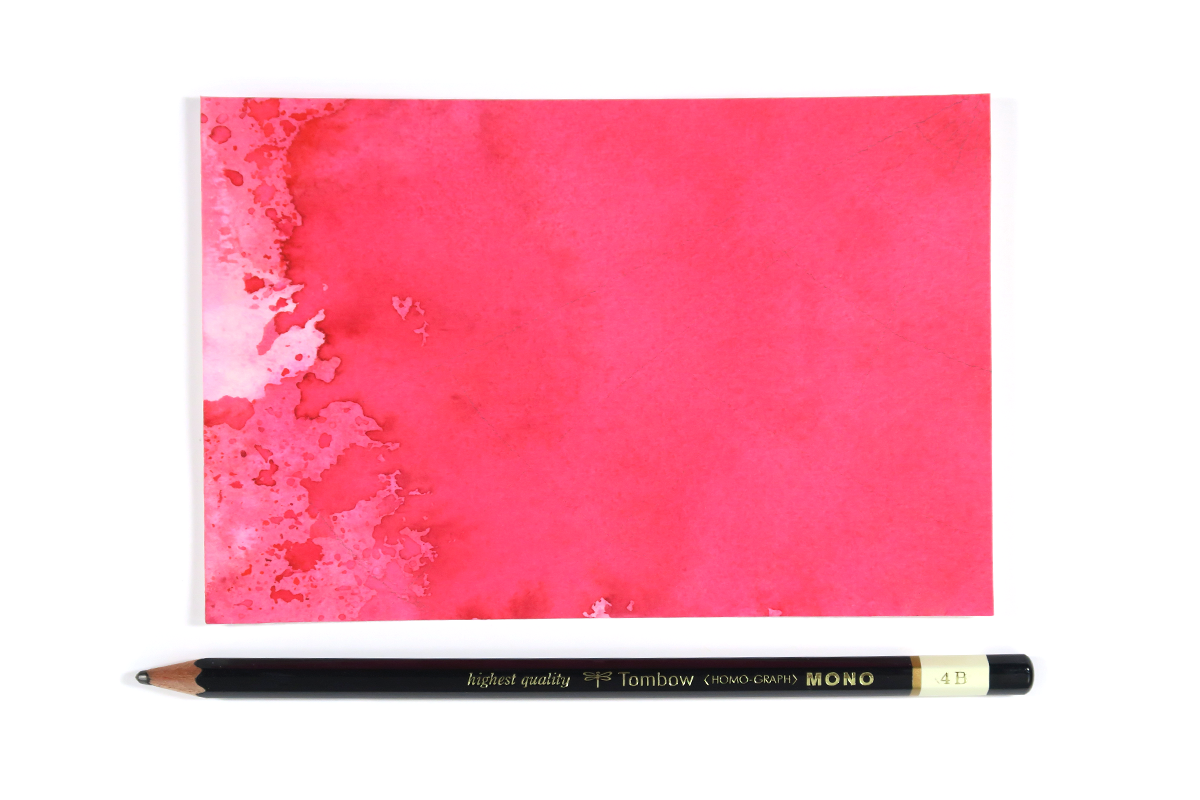
You can’t have Spiderman with his trusty webbing, so let’s create that now. First, use a Tombow MONO Drawing Pencil to lightly draw in a web design as a guide for the next step.
STEP THREE
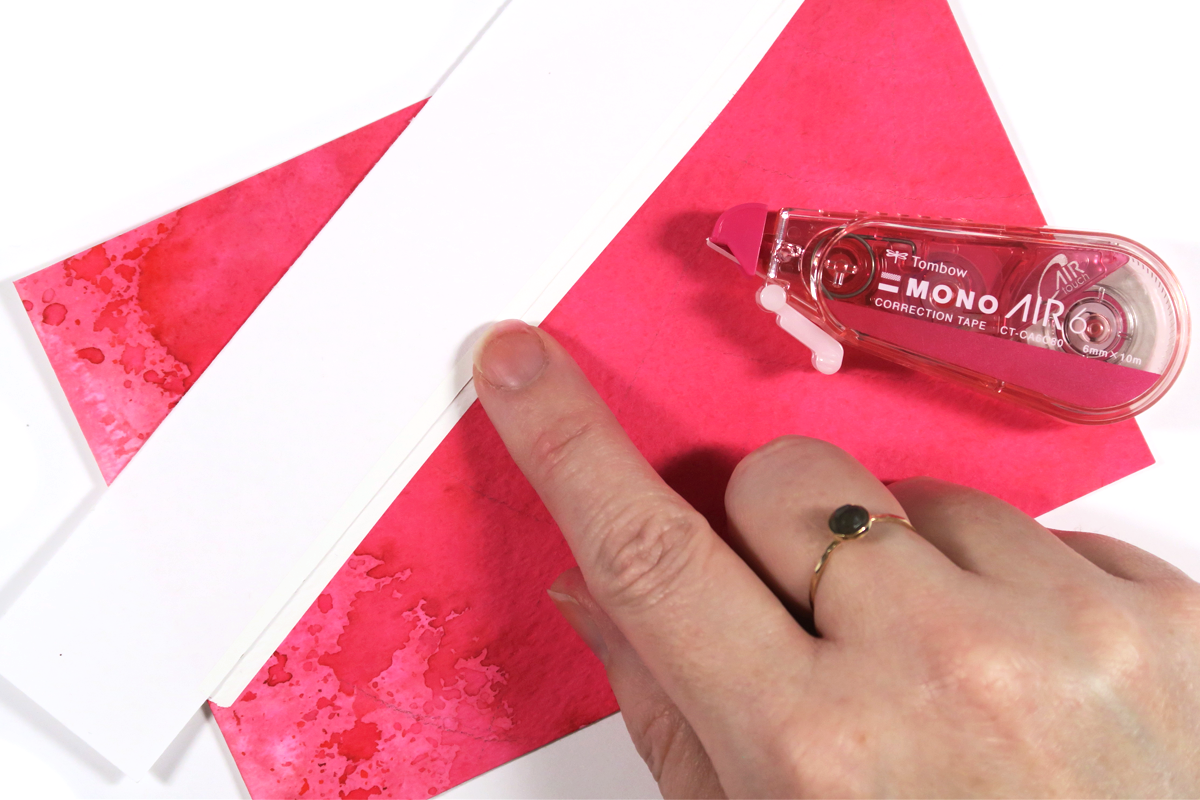
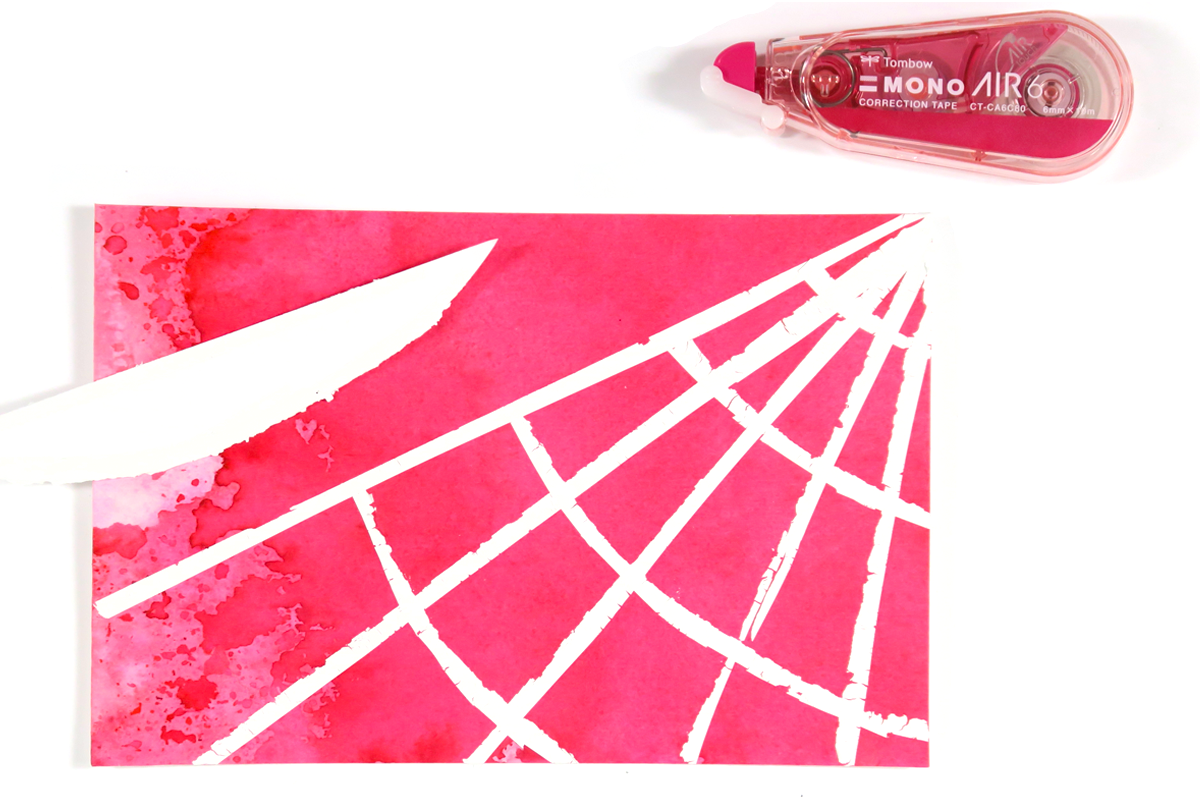
Next, cut down a piece of printer paper to about an inch or so wide. You need it to have a straight edge. Next, line up the edge of the paper strip with one of your sketched web lines. Now, run the Tombow MONO Air Correction Tape dispenser along this edge, making sure to overlap about half the correction tape on the printer paper and half on the watercolored paper. This will create a thinner line of white. Press down really well (don’t rub!) on the correction tape before gently peeling up the paper strip. It’s ok if it doesn’t leave a perfectly crisp edge, that just adds to the overall webby effect.
STEP FOUR
Now, trim a section of your printer paper so that it has a curved shape. Repeat the MONO Air application the same way you did in the previous step. The curved shape will create the rest of the web design.
STEP FIVE
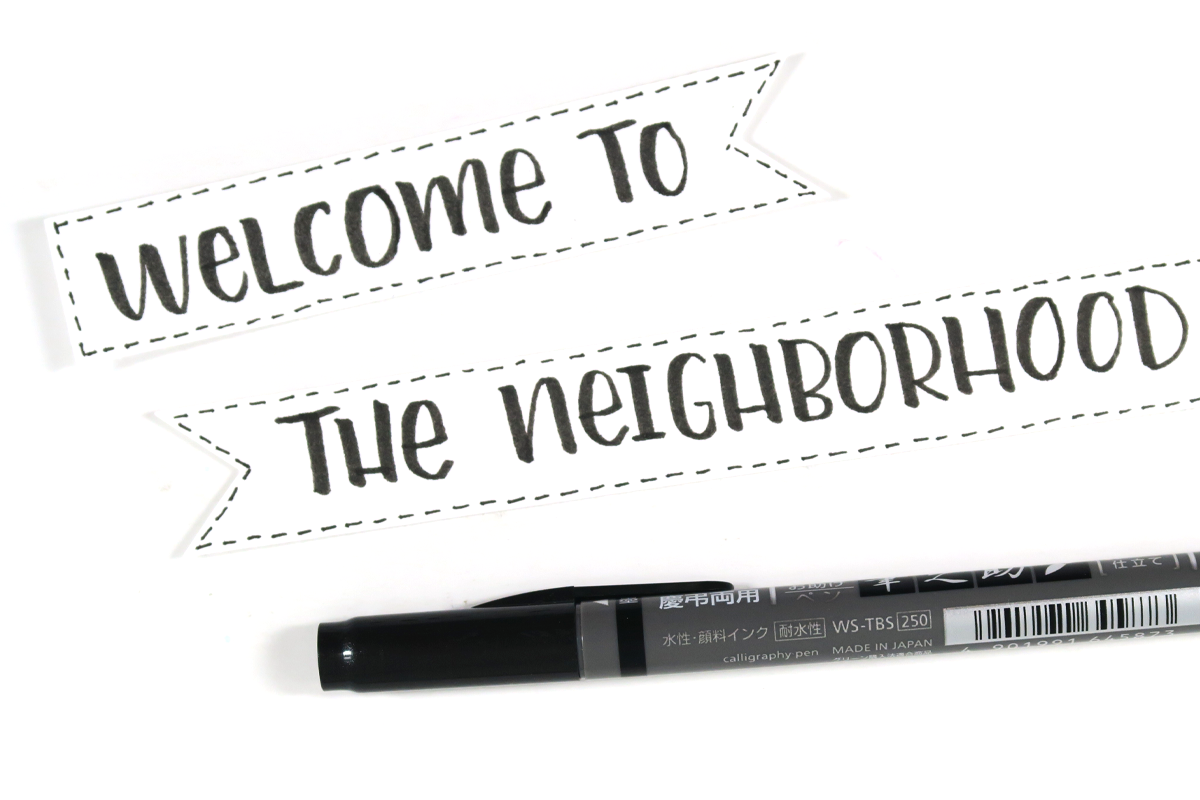
Time to create the sentiment! I trimmed white cardstock into a couple of inch tall strips, then lettered on “Welcome to the Neighborhood” with a Tombow Fudenosuke Brush pen. Once my lettering was done, I trimmed the ends of the cardstock pieces into flags and added a little border detail.
STEP SIX
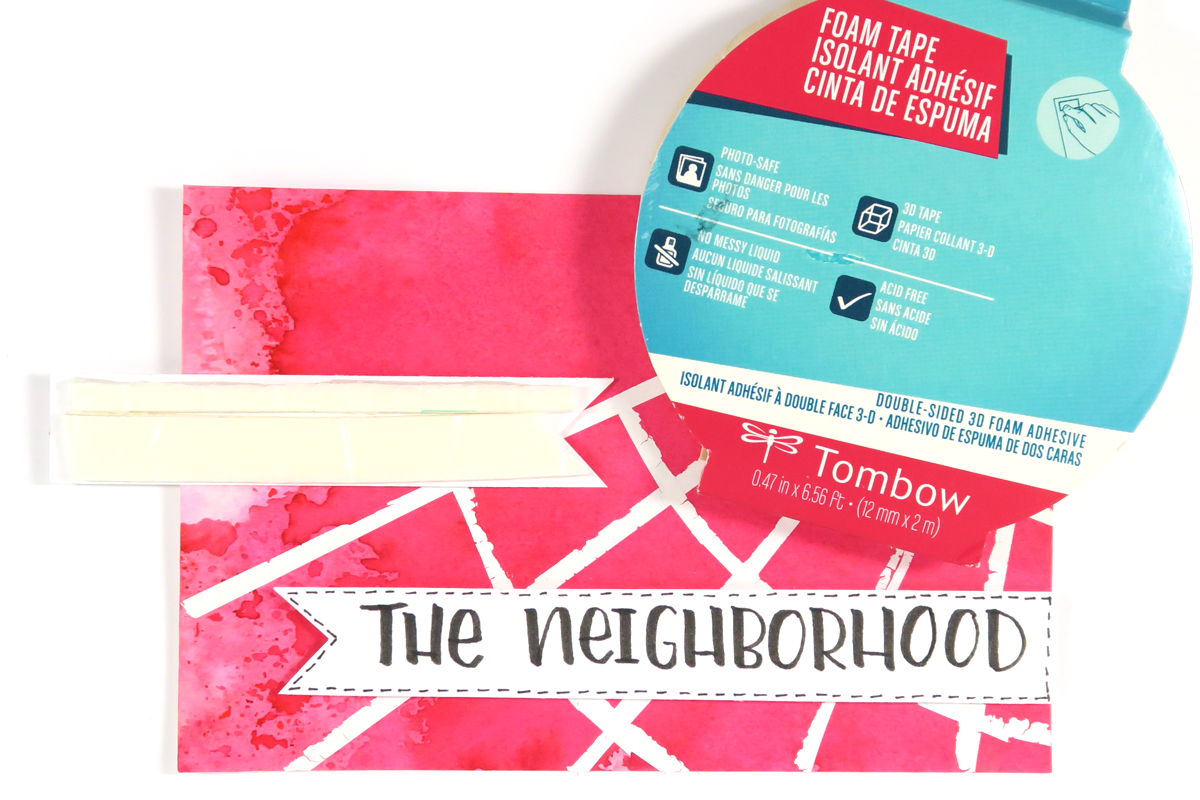
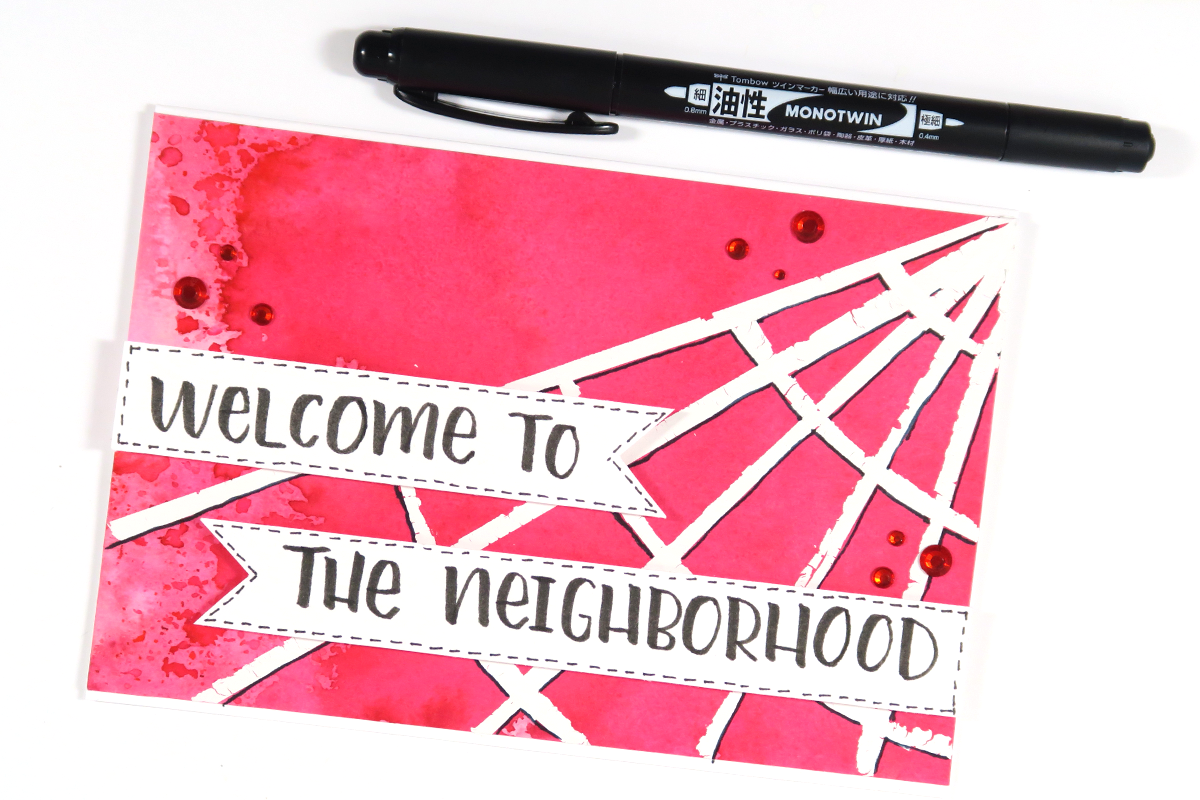
Now let’s assemble the Spiderman card! Use the Tombow Foam Tape to adhere the sentiment banners on the front of your panel. This also adds dimension to the front of your card. Next, cut down a piece of white cardstock to 6″x8″, then fold in half along the long edge. This is your card base. Use Tombow Xtreme Adhesive to glue your front panel to the front of your card base. I decided my card looked a little plain, so I carefully drew some shadow details with the fine point of the Tombow MONO Twin Permanent Marker. If you want the same effect, I suggest doing this before attaching the sentiment banners. Finally, I added some red gem stickers for a bit of sparkle and extra detail.
Thank you so much for following along with my tutorial for my Spiderman inspired card today. For more card making inspiration, check out my tips for the best adhesives for card making, then learn Smitha’s techniques for adding decorative details with foil, glitter, and sequins. See you next time!
The post Spiderman Greeting Card with TombowUSA appeared first on Tombow USA Blog.